My next project is creating an indoor/outdoor workshop for a local florist. She already had a roofed area in her backyard, so building the workshop would be a relatively simple addition to the structure.

Natural light was a key consideration, so the walls would have to include windows and a door. Luckily some customer returns were lying around at my work (Green Building Store), 4 windows and a door, which are all solid oak and tripled glazed. Not bad for a shed!
The green timber fence with door would come down and be replaced by a new wall with large window. This would look directly into the neighbours' garden but after checking, they were fine with it. That faces west, so the workshop would catch the sunlight early morning and late afternoon.
There was a discussion about whether to have a complete structure, as in 4 walls and a roof, or open at one end. We decided to go for the latter at least to begin with. I still thought insulating and making airtight the two new walls was a good idea, for comfort while working. The open end would provide natural ventilation and a connection to the outdoors, as well as a large escape for Steve (the cat).

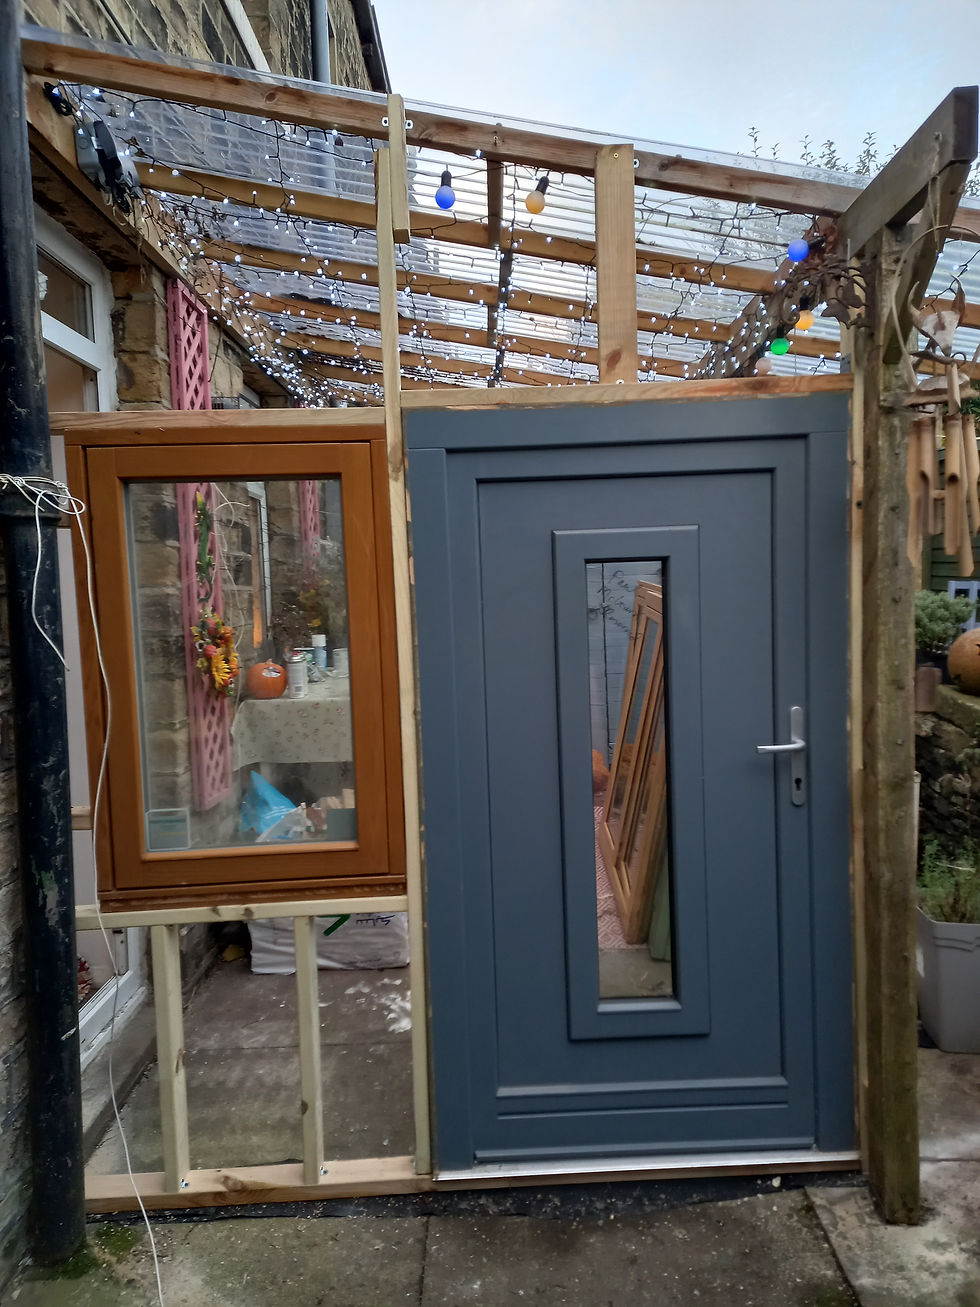
I started building the frame on which to mount the door, by securing 2x4 to the existing roof post, the floor and the house wall. I put strips of damp-proof membrane under the wood wherever it came in contact with the floor.


I mounted the very heavy door and frame around it, then the window. I had just enough 2x4 to secure the whole thing to the end roof beam to stop the 'wall' swaying (and possibly collapsing) in the wind. The weight of the window is taken by the horizontal beam, the two vertical struts underneath plus several fixing points to the frame around it. I have remembered how tough/impossible it is to drive screws into hardwood, in this case oak.
You will notice that the door and window don't look vertical. According to my level they are nearly vertical, so it must be the photographer! Admittedly the downpipe and window are not parallel but I think the downpipe is less vertical. Or maybe I should just stop working in the dark!
I have never been much of a planner, preferring to start and tackle obstacles as they arise. One large one was this, the outlet grille for the hot water boiler! I thought about it and decided I could duct this to the workshop wall, putting in a drain to allow any condensate to escape.
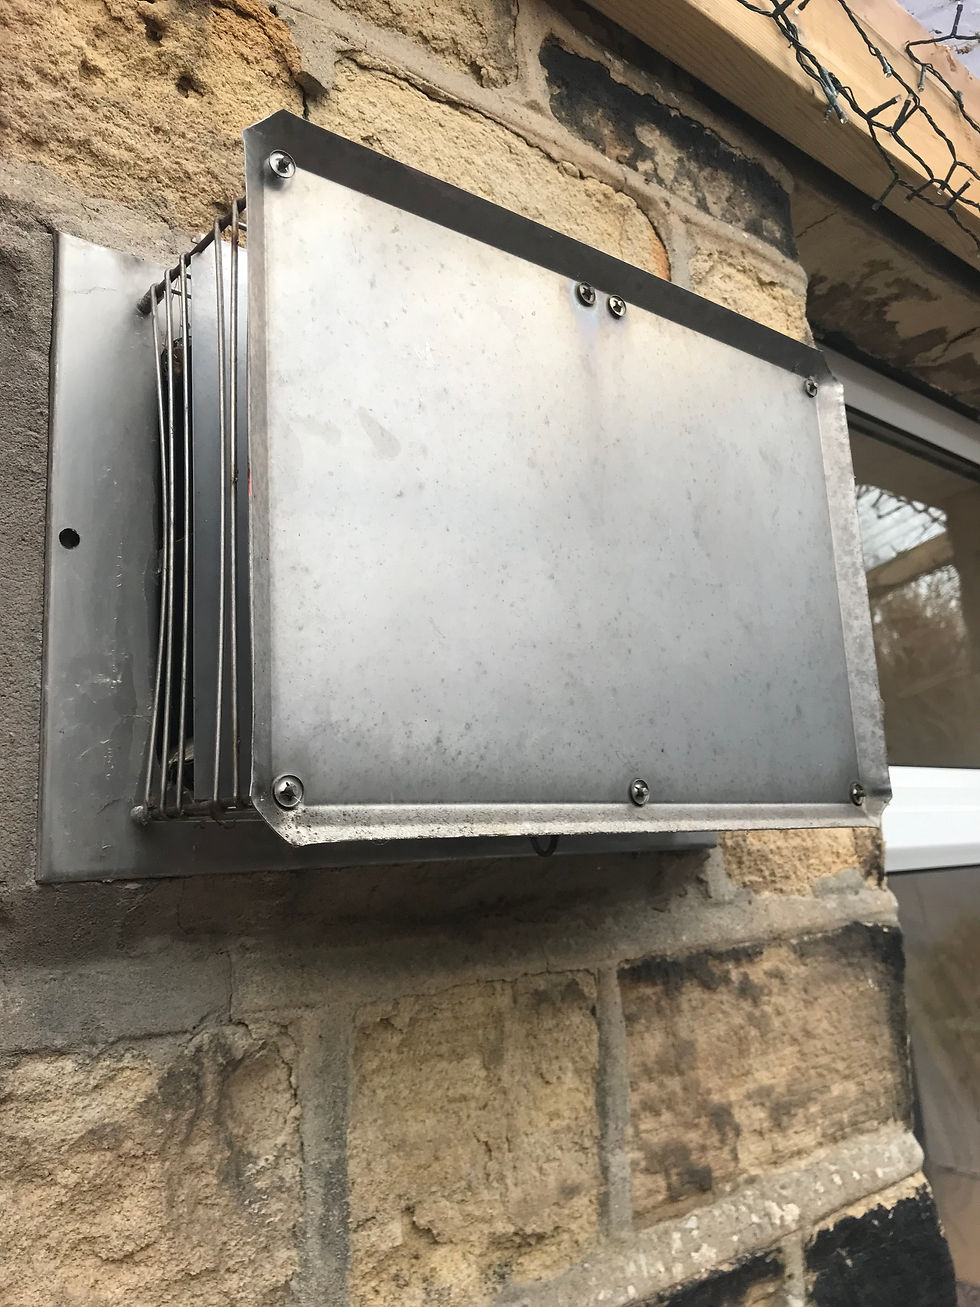
But this could be messy and problematic. We decided to sack off the concept of an 'airtight' shed, opting to leave gaps between the walls and sloped roof to allow ample ventilation. This would save on the airtightness membrane (which aren't cheap) and other bits, and also benefit the plants inside the workshop.
Luckily Ruth has a separate boiler for the central heating, so this boiler is only used for hot water from the kitchen and bathroom sinks (plus occasional bath). So with the new ventilation strategy the (minimal) exhaust gases would not present a health risk.
Rear wall frame built and large window installed. Somehow we lifted it, it must have weighed 80kg! Also added roof beams for minor roof extension. We thought about putting the other freebie smaller window in the corner, but decided to leave it free for shelving instead. Storage would be built under the window for the length of the workshop, to store firewood.

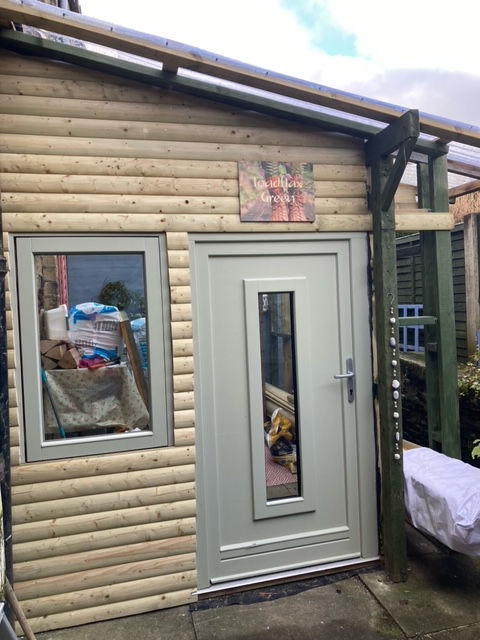
We are nearly ready to seal gaps, infill the two walls with insulation and fit the external cladding, which will be loglap.
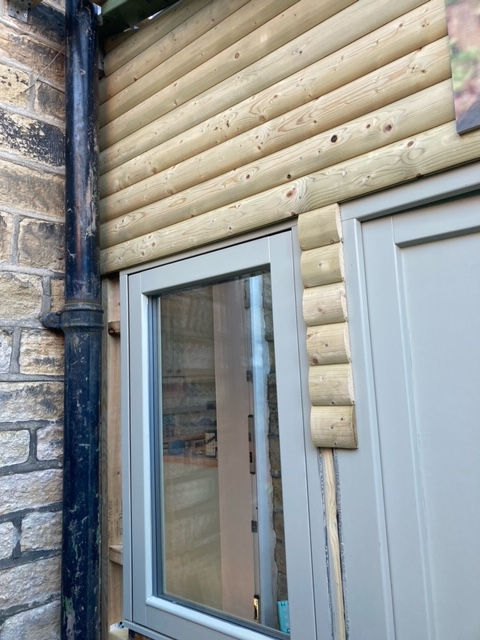
The loglap from Witham Timber arrived and I was impressed with its quality. Smooth, straight and barely any damaged pieces. When sawing loglap, I found it's best to cut starting at the 'tongue' edge, as cutting from the groove edge risks splitting the tongue. Ensure the tongue is facing upwards. It is quite satisfying when it fits together. I used 50mm galvanised nails to secure.
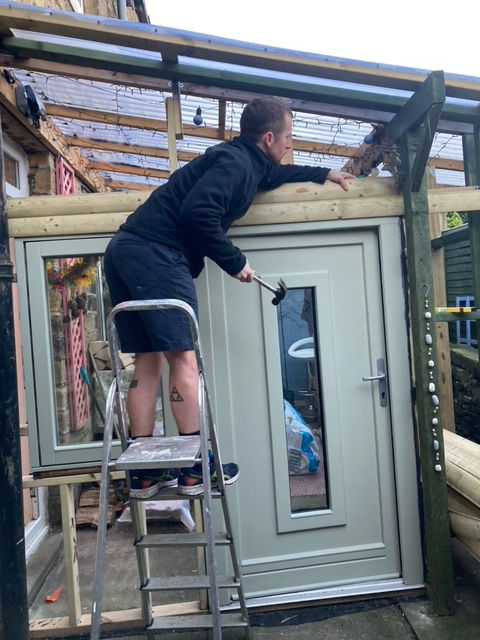
Door and windows painted with French Grey by Farrow and Ball.
I cut small pieces for the gap between floor and window. This would make it look like holes had been cut out of an existing shed, rather than little bits stuck together. We agreed it would make sense to hide these edges with some finishing timber. It would add an inordinate amount of time trying to cut and sand every piece to exactly the same size. Also, about 1 in 4 of the T&G joins is less than perfect.
We added the insulation. This was 100mm Knauf Earthwool Dritherm, normally used in masonry cavity walls. This would by no means make the shed warm, but at least make it more comfortable for working in by blocking some of the incoming air.

For the pieces that met the sloping roof, a jigsaw was necessary to cut a diagonal line. The finish is less than perfect, but again these will be hidden with a finishing piece.

Realising how much there was left to do, I decided to make a finishing touch.
Comments